Contracting
Dolphin allows users to carry on with their daily contracting needs.
This help page will provide you a guide to:
- Contract creation
- Editing a contract document
- Editing contract properties
- Uploading a contract document
- Upload Contract Document using Drag and Drop
- Contract Attachments
- Required Field Validations
- Document Swapping
Contract Creation
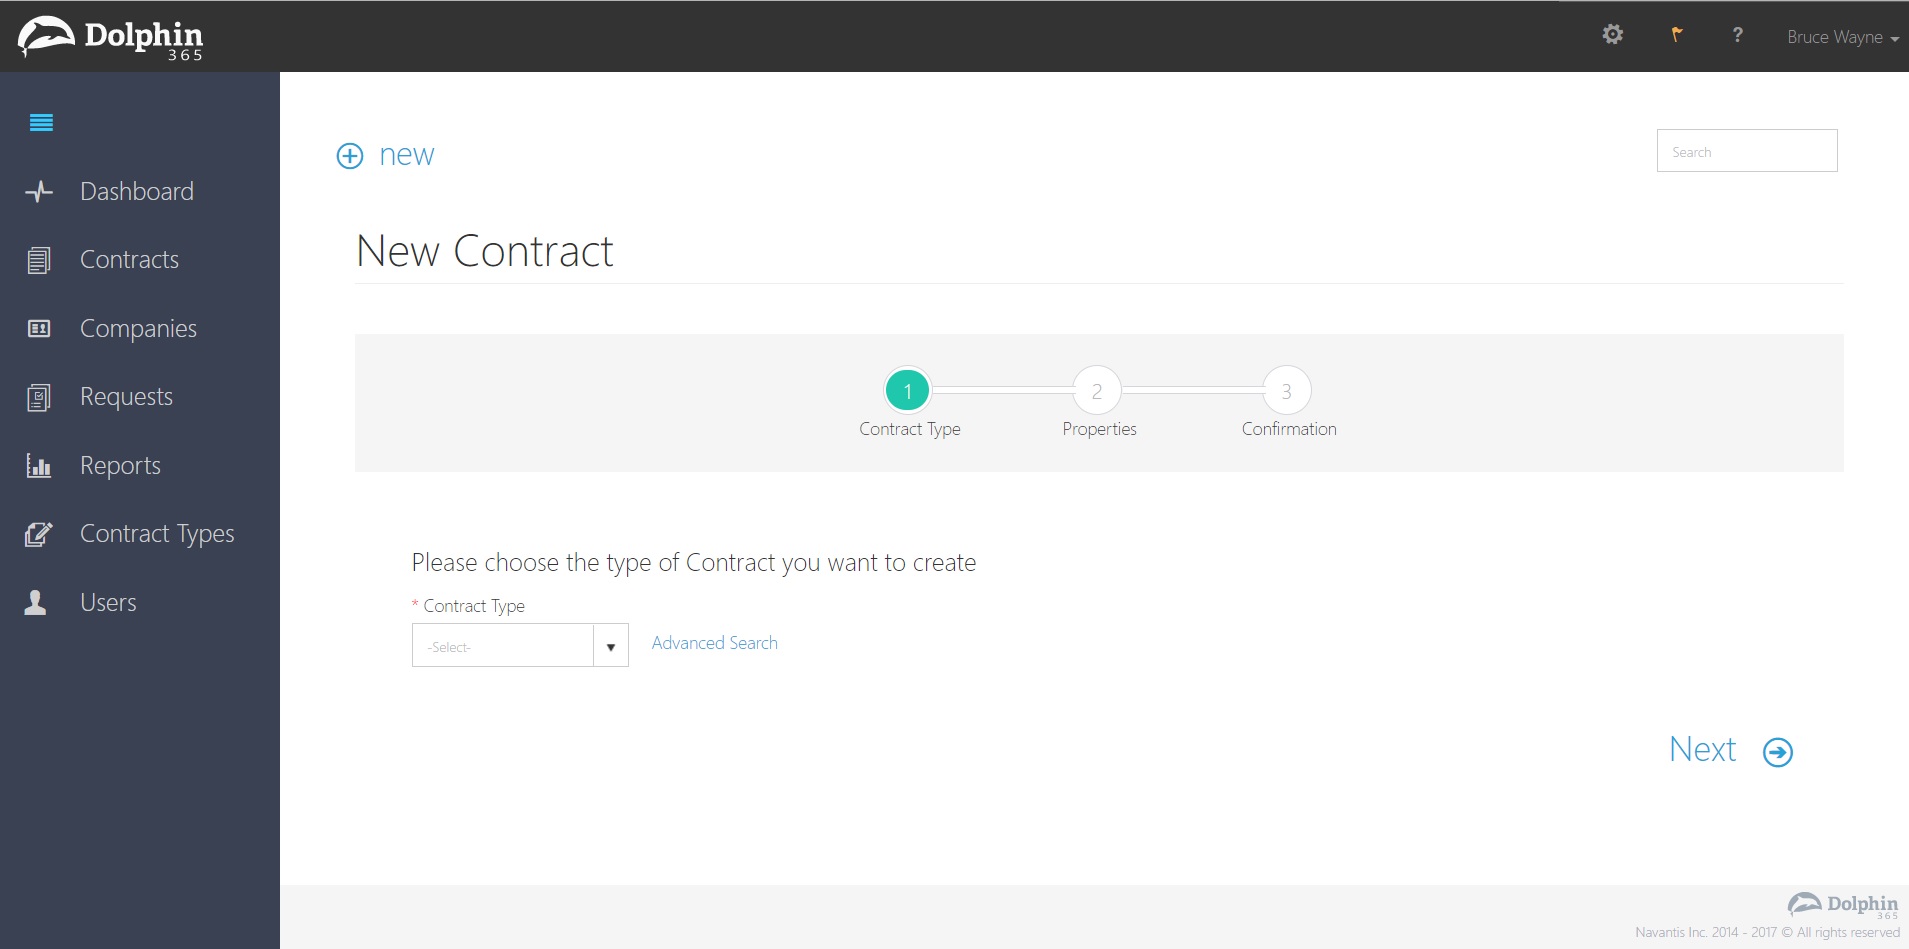
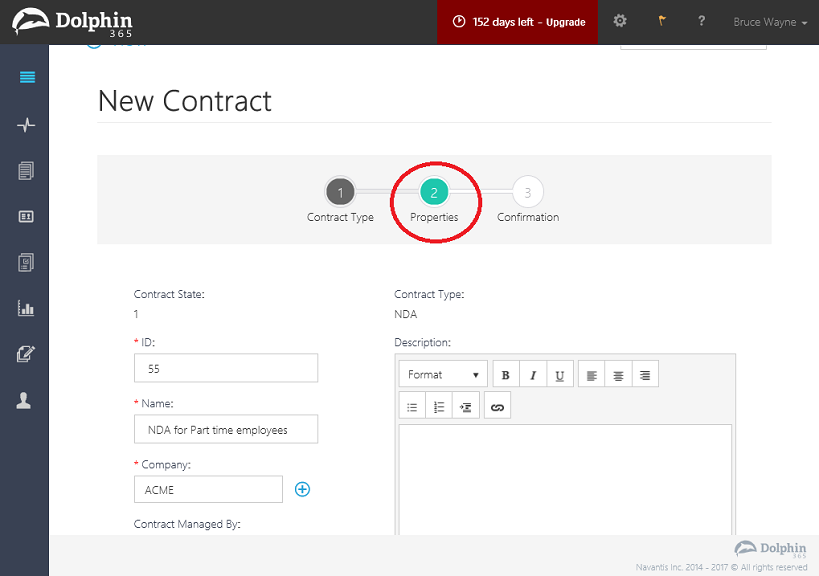
- The user can click on the ‘new’ button on the dashboard to create a new contract.
- The user will be taken through the contract creation wizard for easier creation.
- Once the contract is created it will be shown on the contracts repository.
Editing a contract document
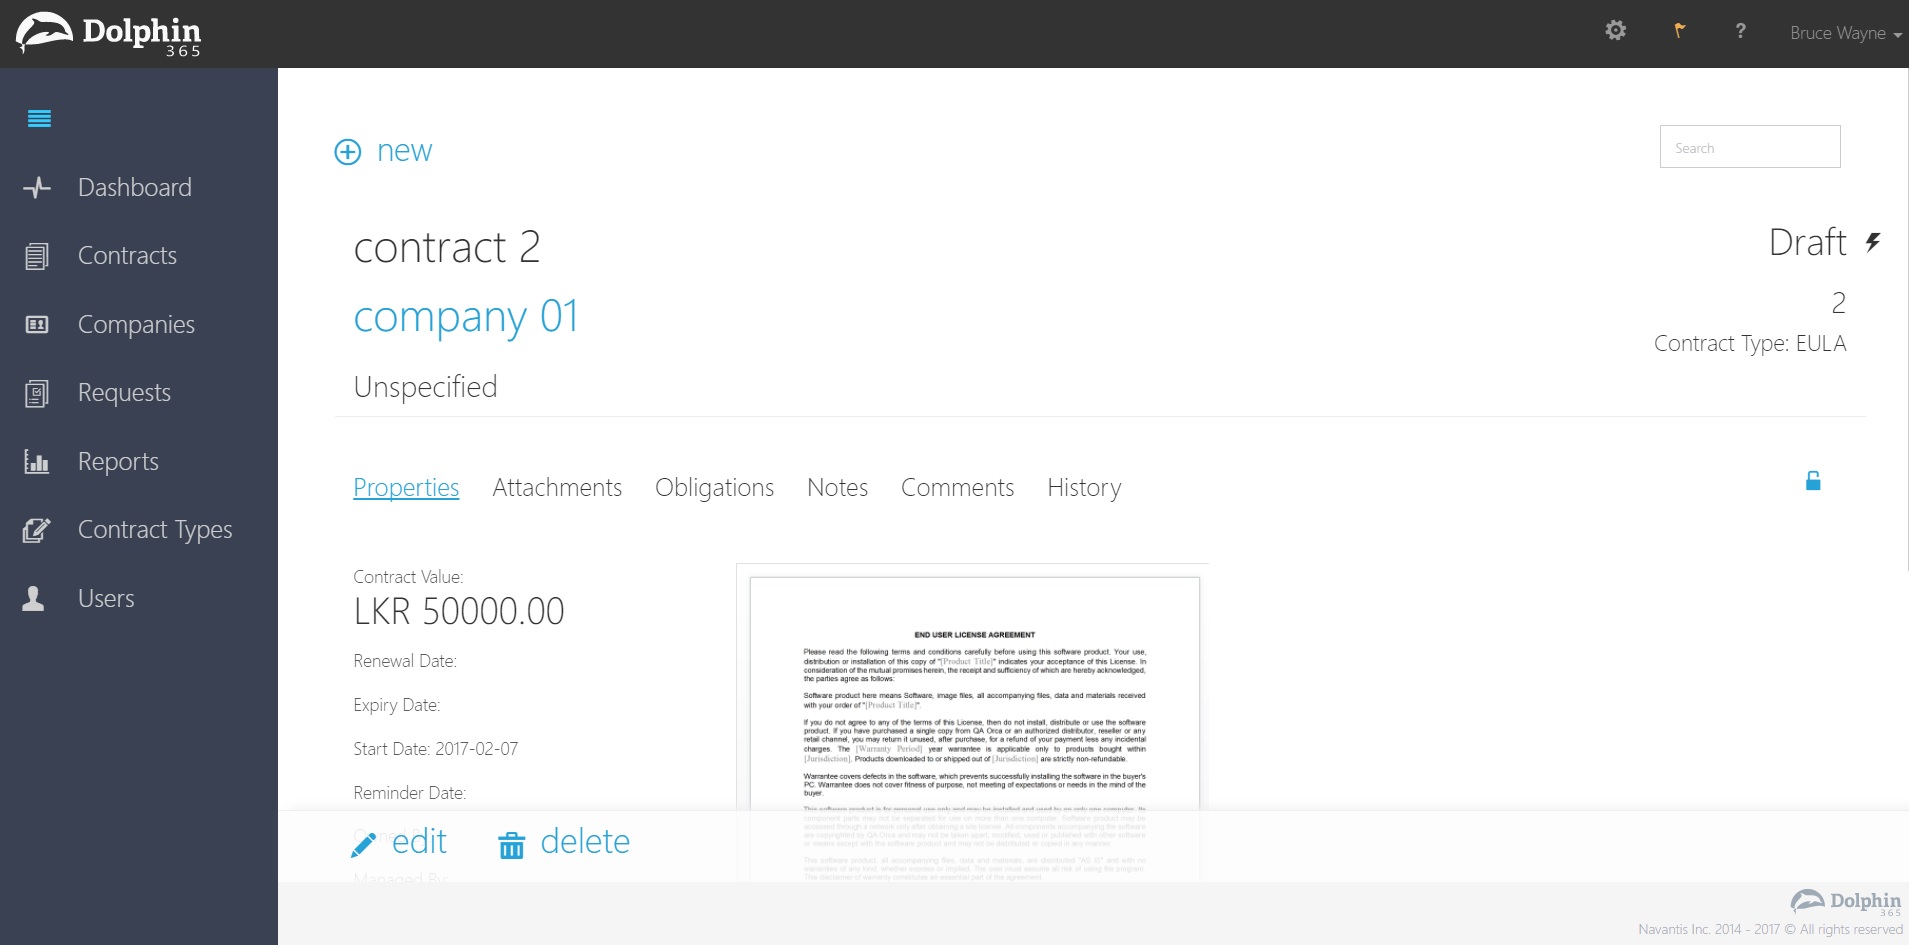
- The user can open a contract through the contract repository or through the reports section directly.
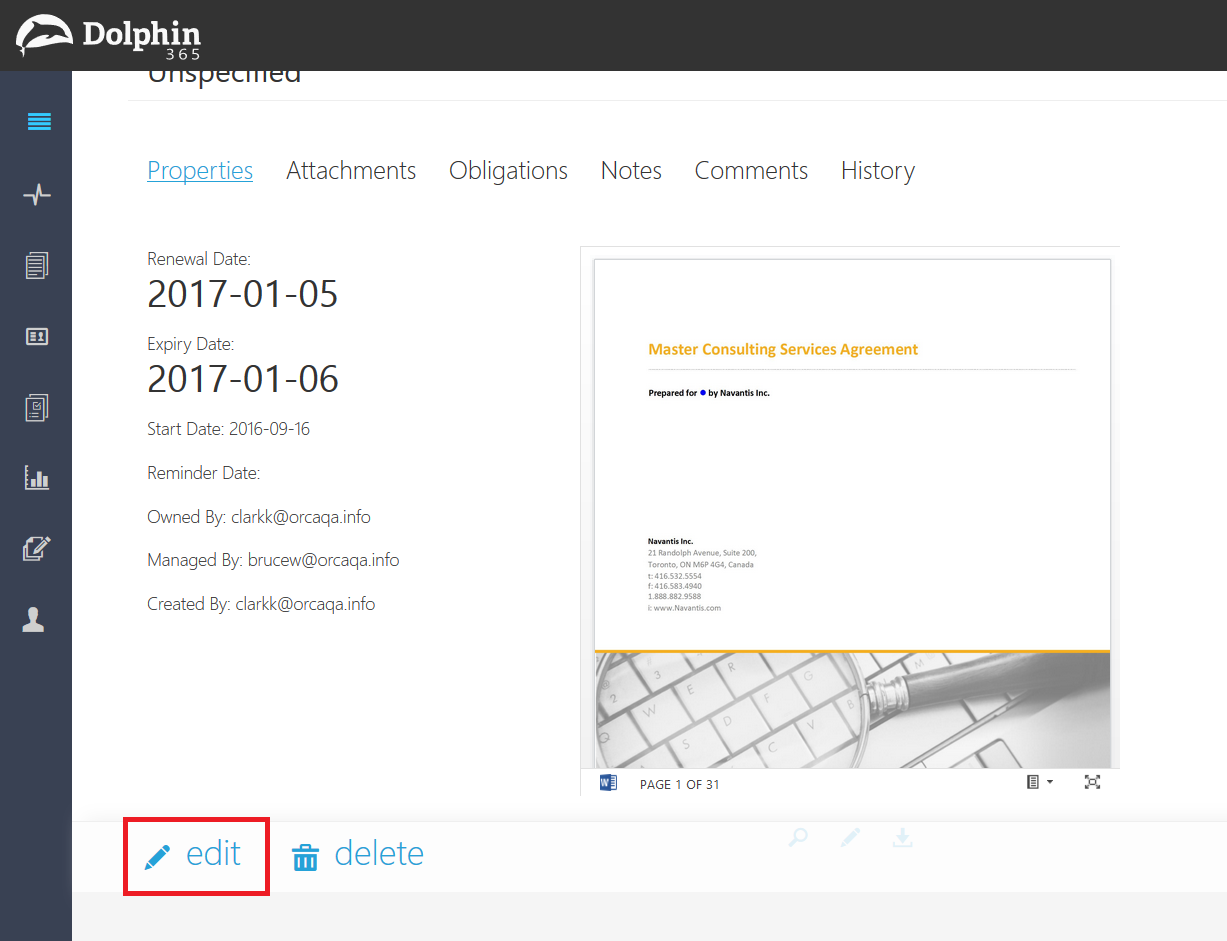
- Once the user is on the contract overview page the user can click on ‘edit’ button to open the document on Word online or desktop applications.
- Once the contract is saved this will update the meta data associated with the contract in Dolphin in real-time.
Editing contract properties
- The contract properties can be accessed by the contract overview page.
- Once the user is in edit mode the user can change the field values and if the property is inserted on the document through quick parts the Word document will also update once clicking the “save” button.
Contract Edit:

NOTE: Please note that if there are no contracts in the system, the application will display the following message on the contract repository: “There are no contracts available. Use the new button or upload contracts. Alternatively you can drag files to upload them.”
Upload Contract Document
With this feature, users can upload a contract document which was created outside of the Dolphin 365. This action will override the contract document which is already in the application.
NOTE: Please also note that, this will remove the synchronization between the application and the document completely.
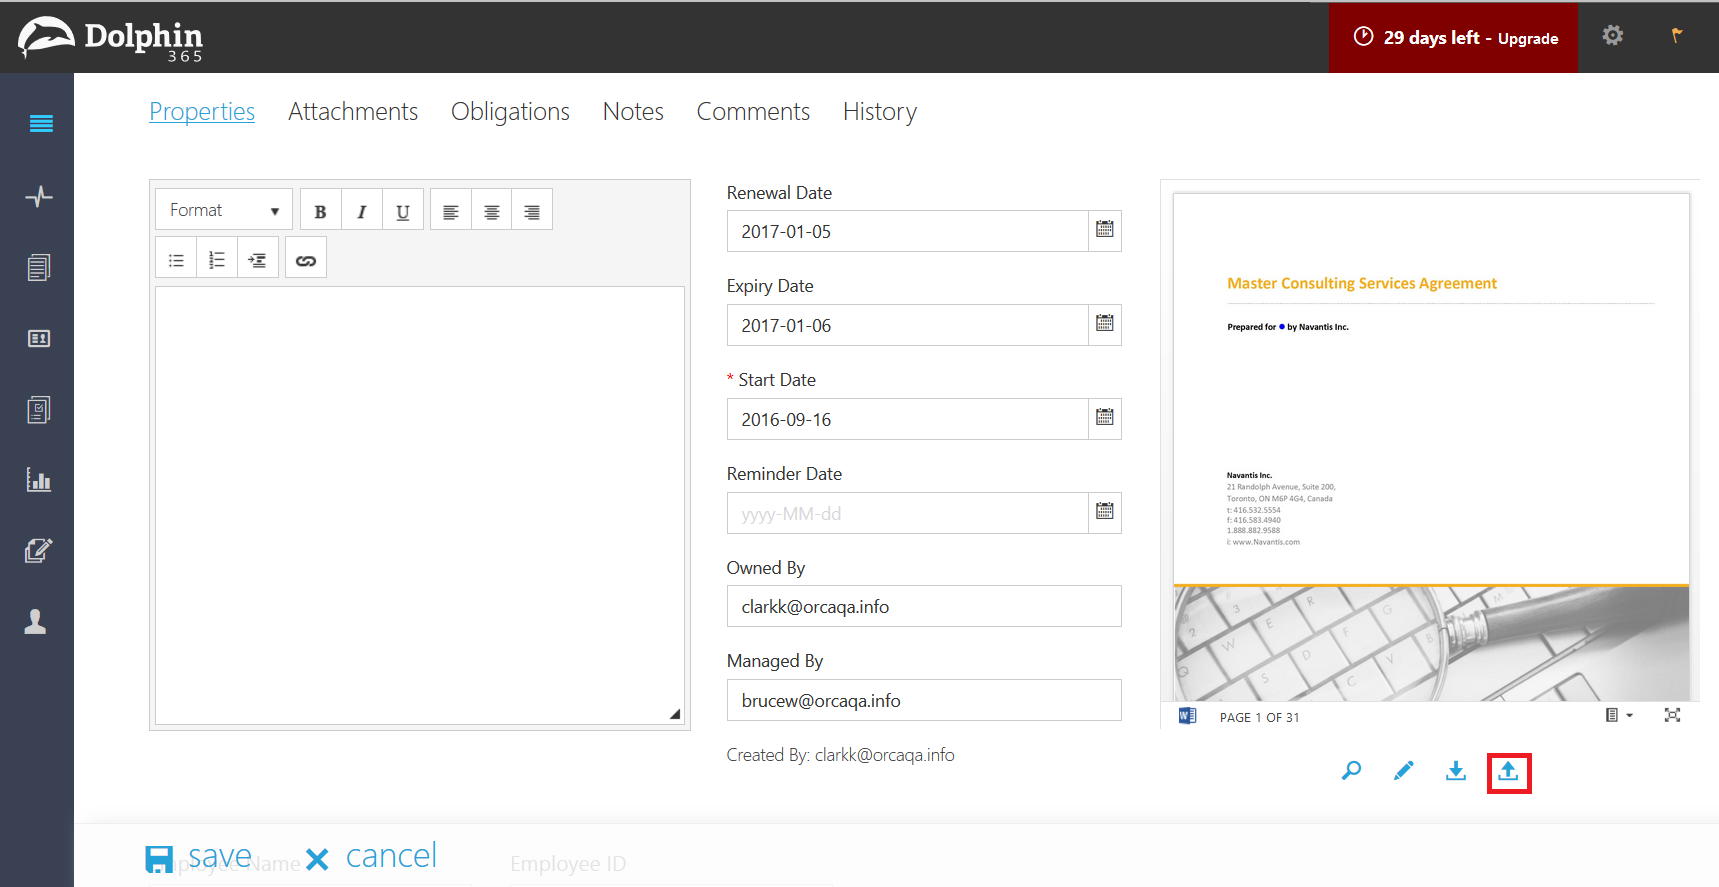
User should open the contract using the edit mode.
Then click on the upload icon highlighted in the below image.
Then a warning message will be displayed as illustrated below.

Press ok to continue, else the user can click on “x” to cancel the operation. If accepted, then the user can upload the file from the file system.
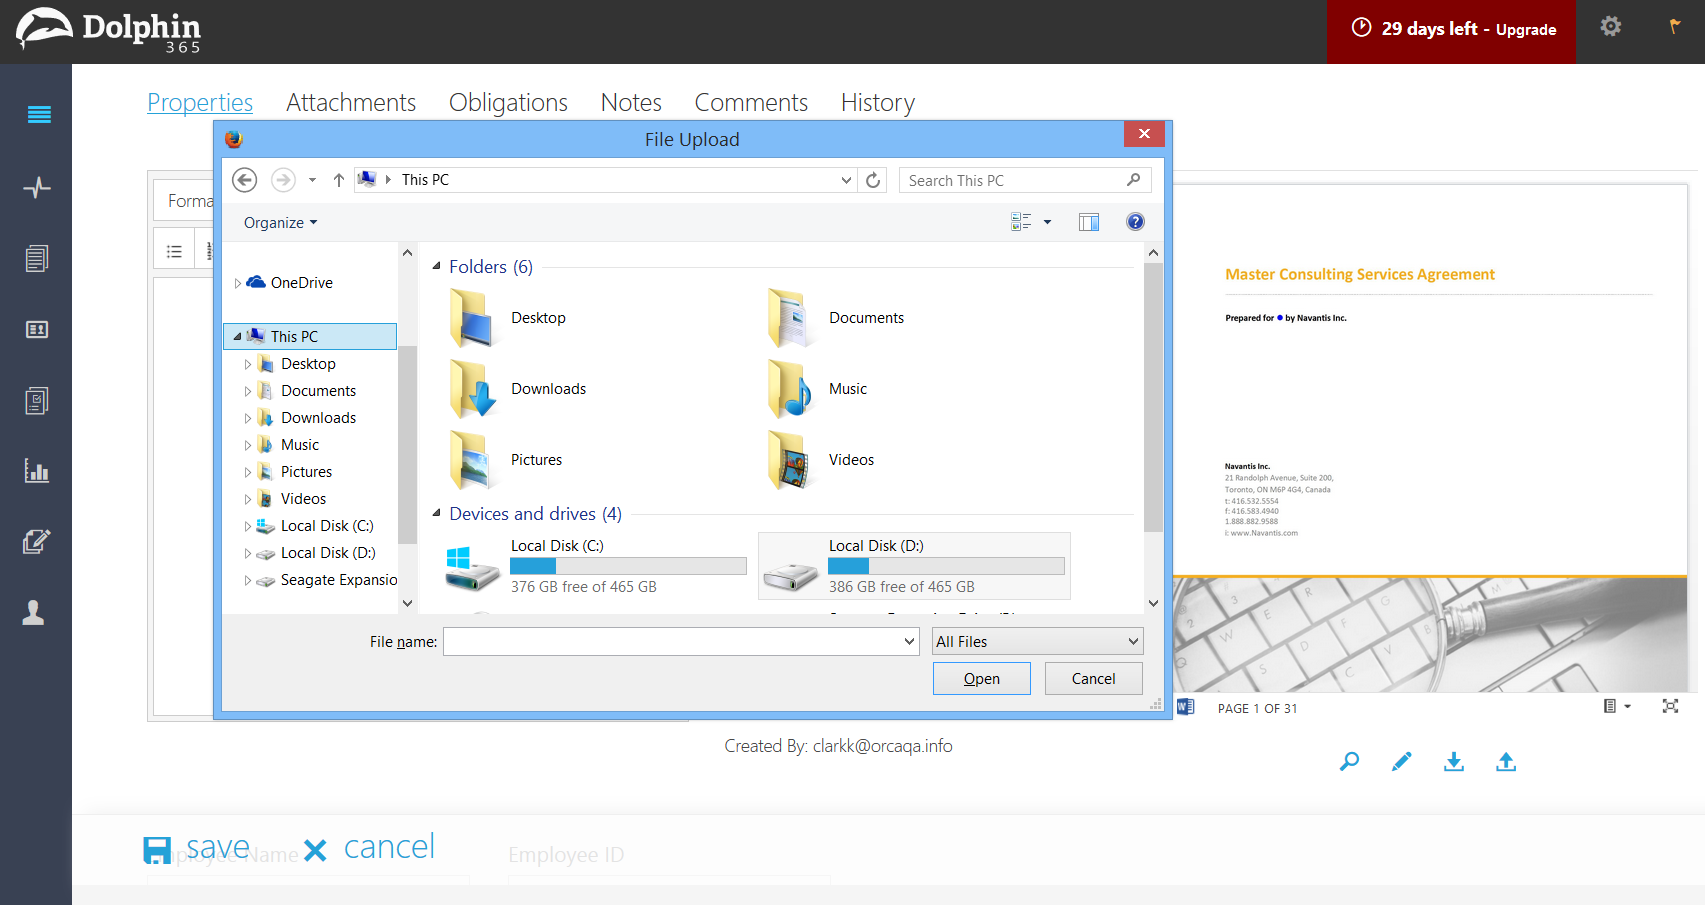
Once uploaded the existing document within the system will be replaced and all the synchronization between the application and the document will be lost.
Upload Contract Document using Drag and Drop
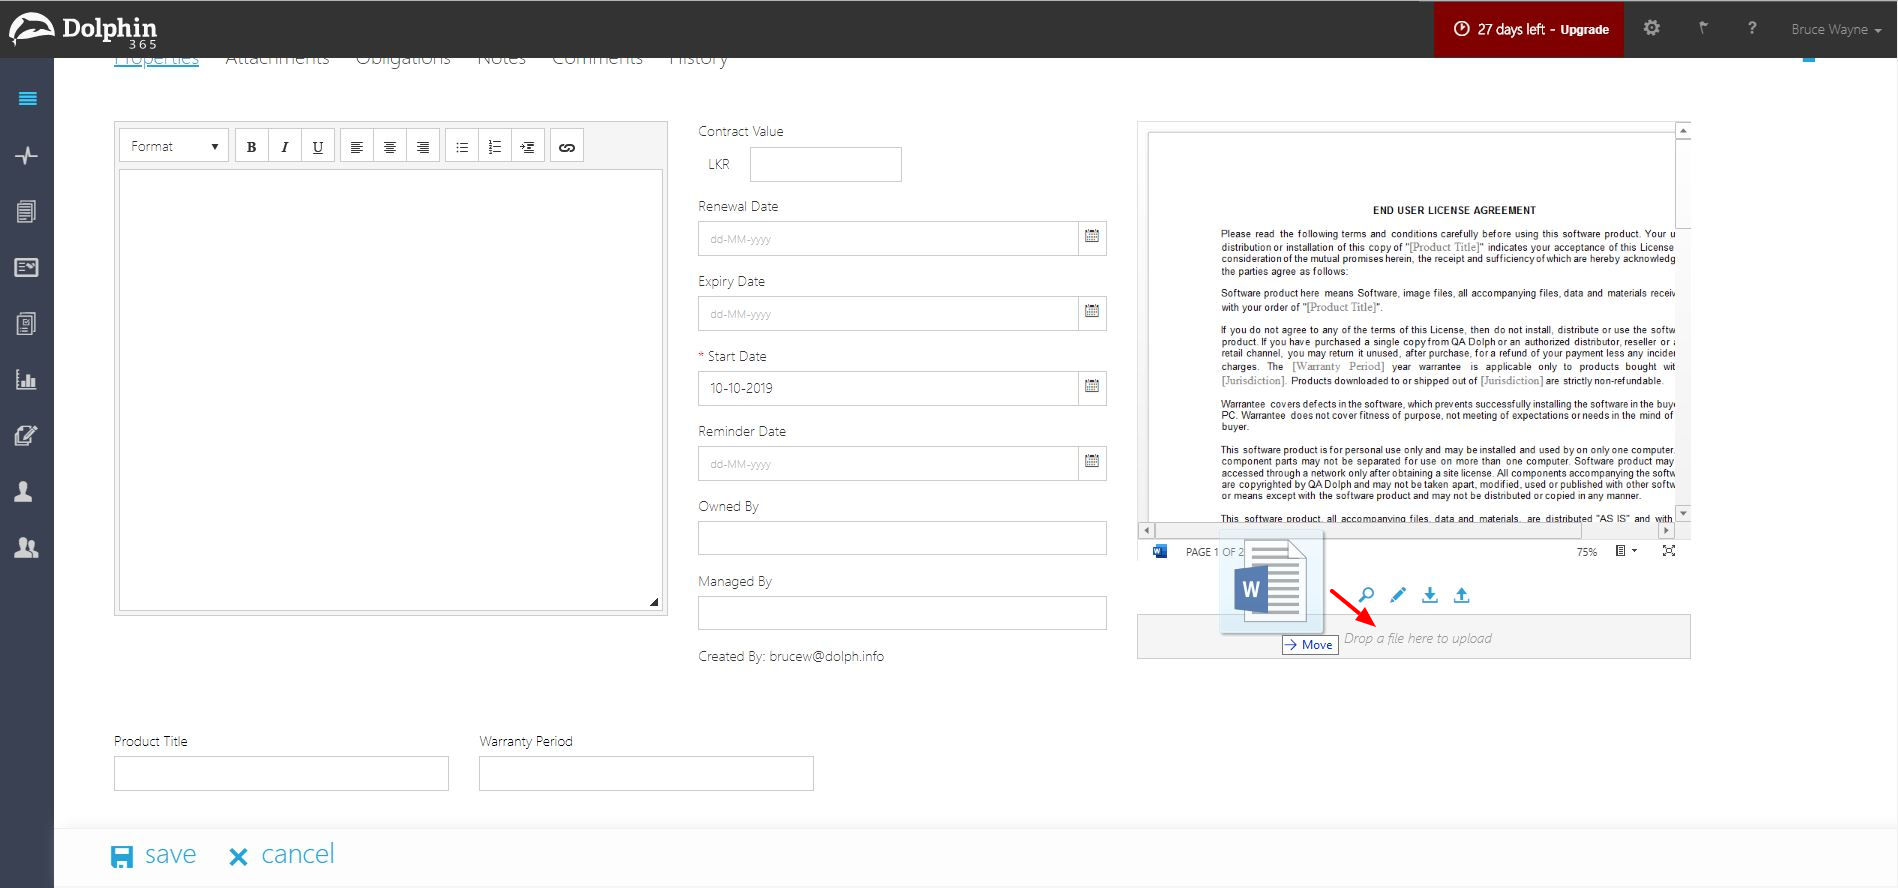
You can upload contract document in contract edit mode by dragging the document that wish to upload from your workstation and dropping to the document preview section.
Drag the document to drop zone and release the mouse button.
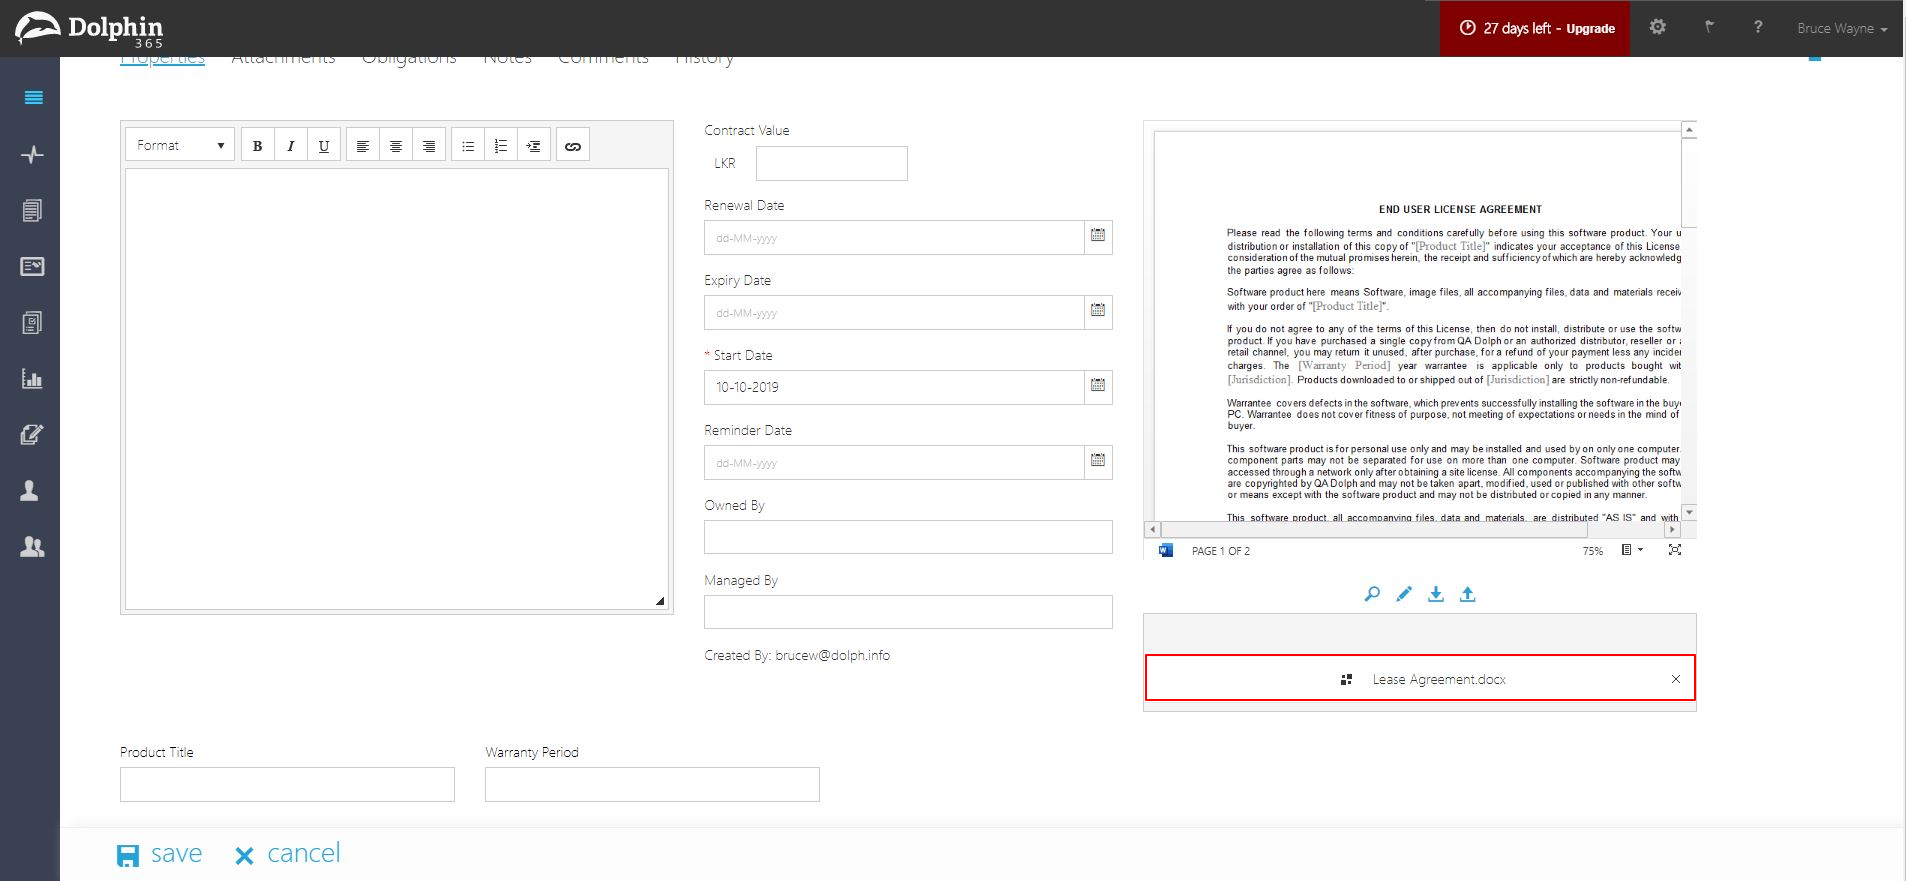
Once the document is uploaded successfully, the file is displayed in the drop zone unitl saving the contract.
Note
- You can upload Doc, Docx, PDF files via drag and drop.
- This will break the existing synchronization between the application and the document completely.
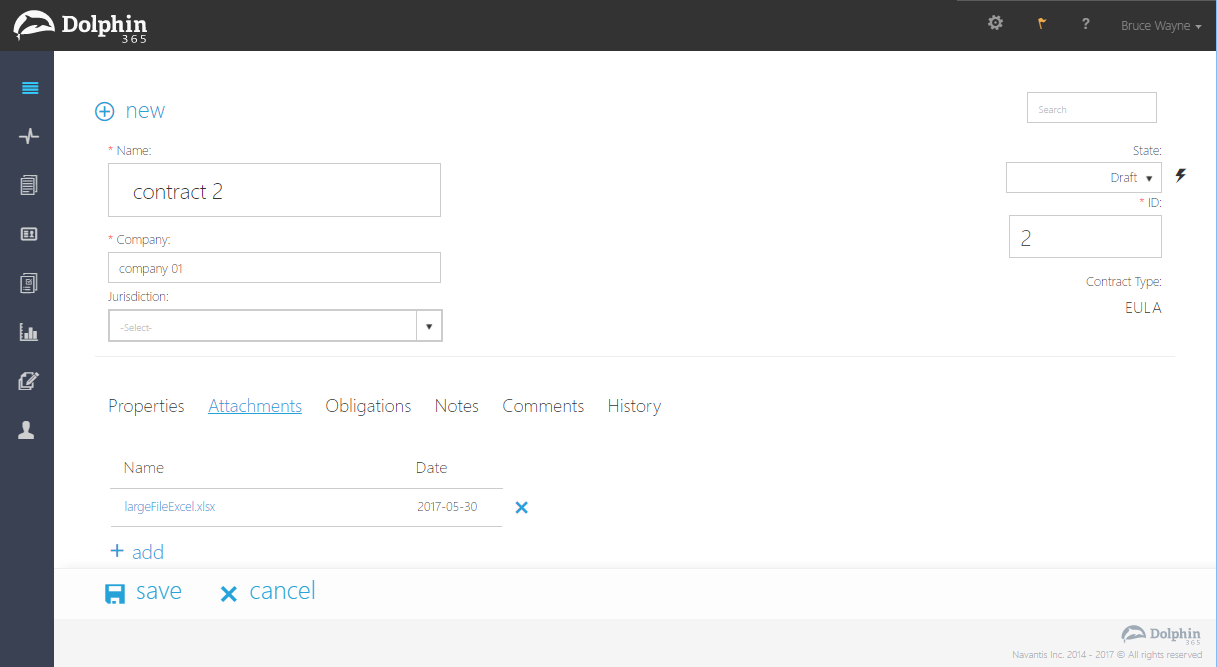
Contract Attachments
Dolphin 365 supports attaching additional documents to your contract. You can open the contract in edit mode and navigate to “Attachments” tab to attach additional documentation required for your contract.
NOTE: Few things to remember
- Maximum file size that can be uploaded is 75MB
- You can upload .doc, .docx, .pdf, .jpg, .jpeg, .xlsx, .xls, .zip, .rar, .png, .wma, .mp3, .tiff, .ppt, .pptx, .txt, .msg file formats.
Required Field Validations
When creating a contract through the contract wizard, users must provide all the required fields defined in the template before proceeding to the last step.
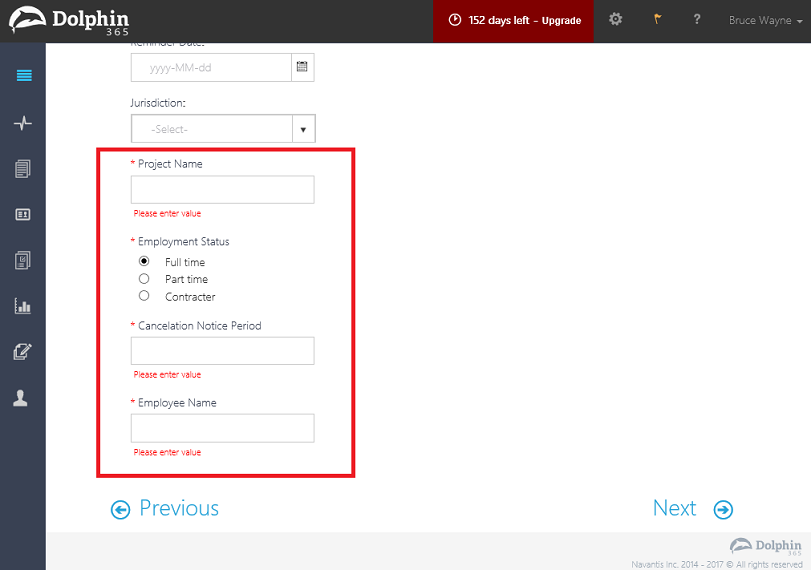
On the second step of the wizard, the user must enter the properties. All the required fields are highlighted with a red asterisk.
If the user misses any of the required fields, the application will not continue to the final step of the wizard. It will display an error label right below the blank required fields as illustrated below.
Document Swapping
If an user needs to replace an existing Word document (Contract Document) by a signed PDF document, he or she can then navigate to the respective contract, click on the upload icon below the document preview, and then choose the needed file and save changes.
Similarly users are able to replace existing contract documents by different documents of either type .docx, .pdf or .doc as needed.