Change Company Logo
This feature allows the tenants to change the default Dolphin 365 logo with their own company logo.
Steps to change the logo
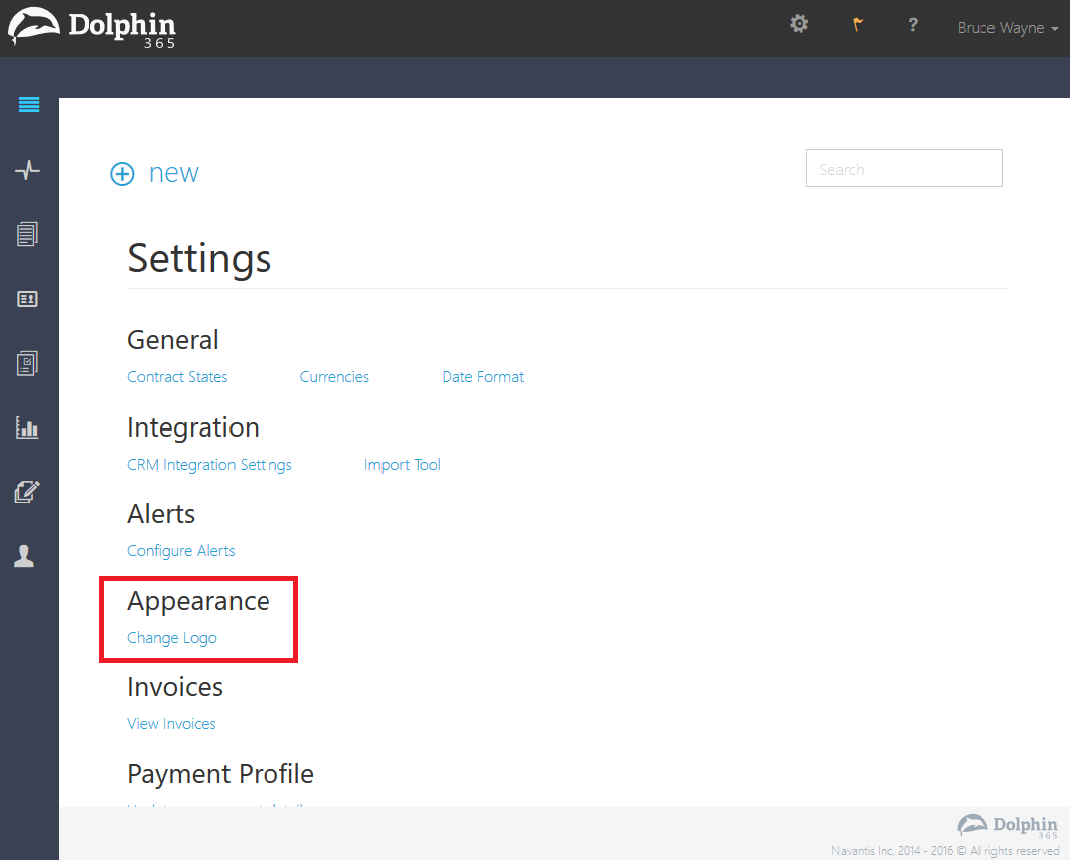
- The admin user navigates to the Settings area of the application and select Change Logo under the Appearance heading.
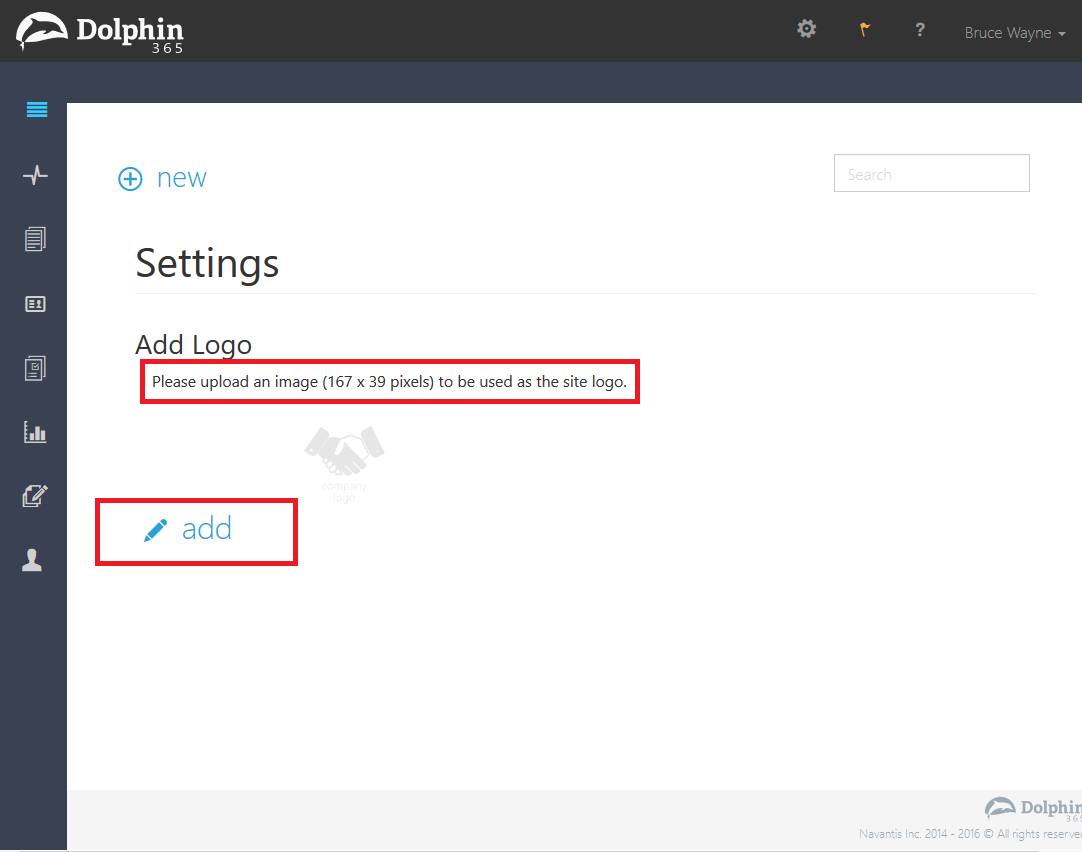
- On the Add Logo page, select Add button.
NOTE: Please note that the allowed size of the image is 167 X 39
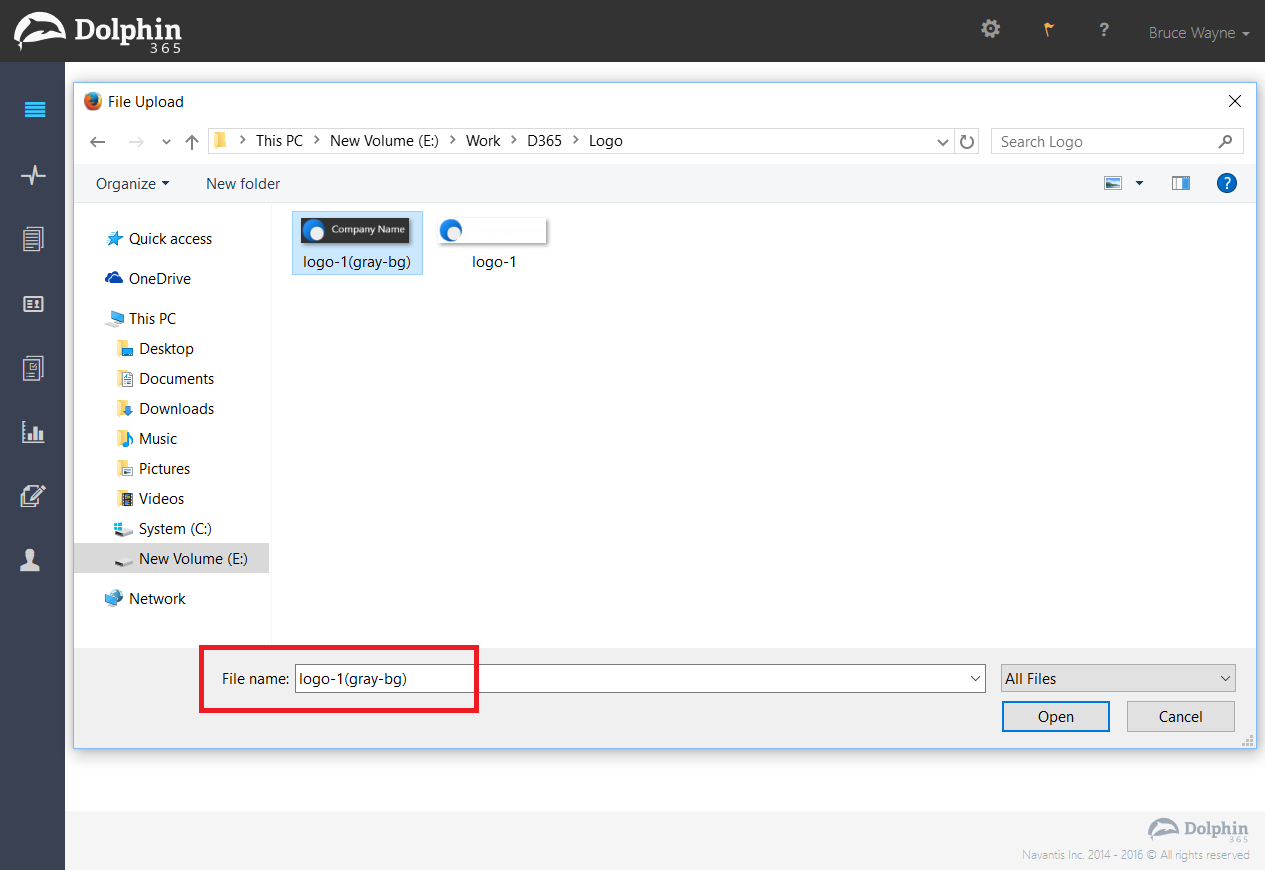
- On the next screen the tenant admin should click on the Select File button to select the logo image.
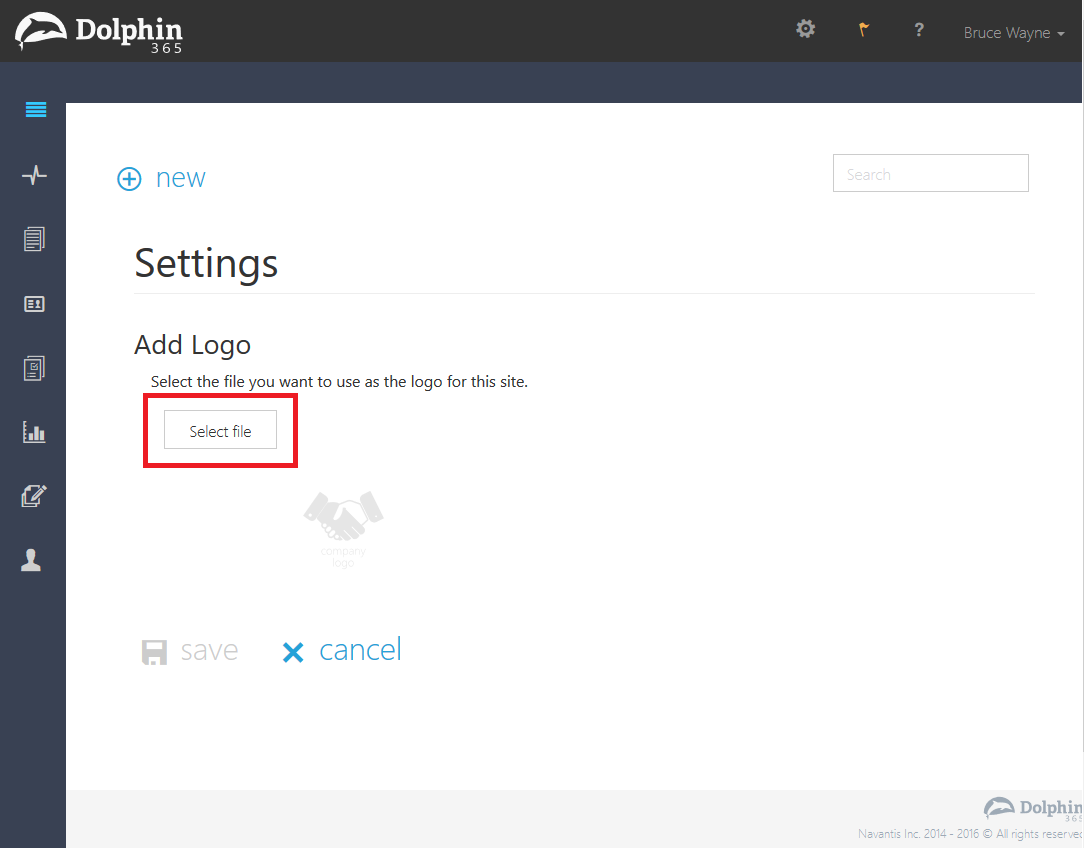
- Select the file and click Open button.
- File will be uploaded and the admin will be redirected to the screen illustrated below. Click on the Save button to confirm the changes.
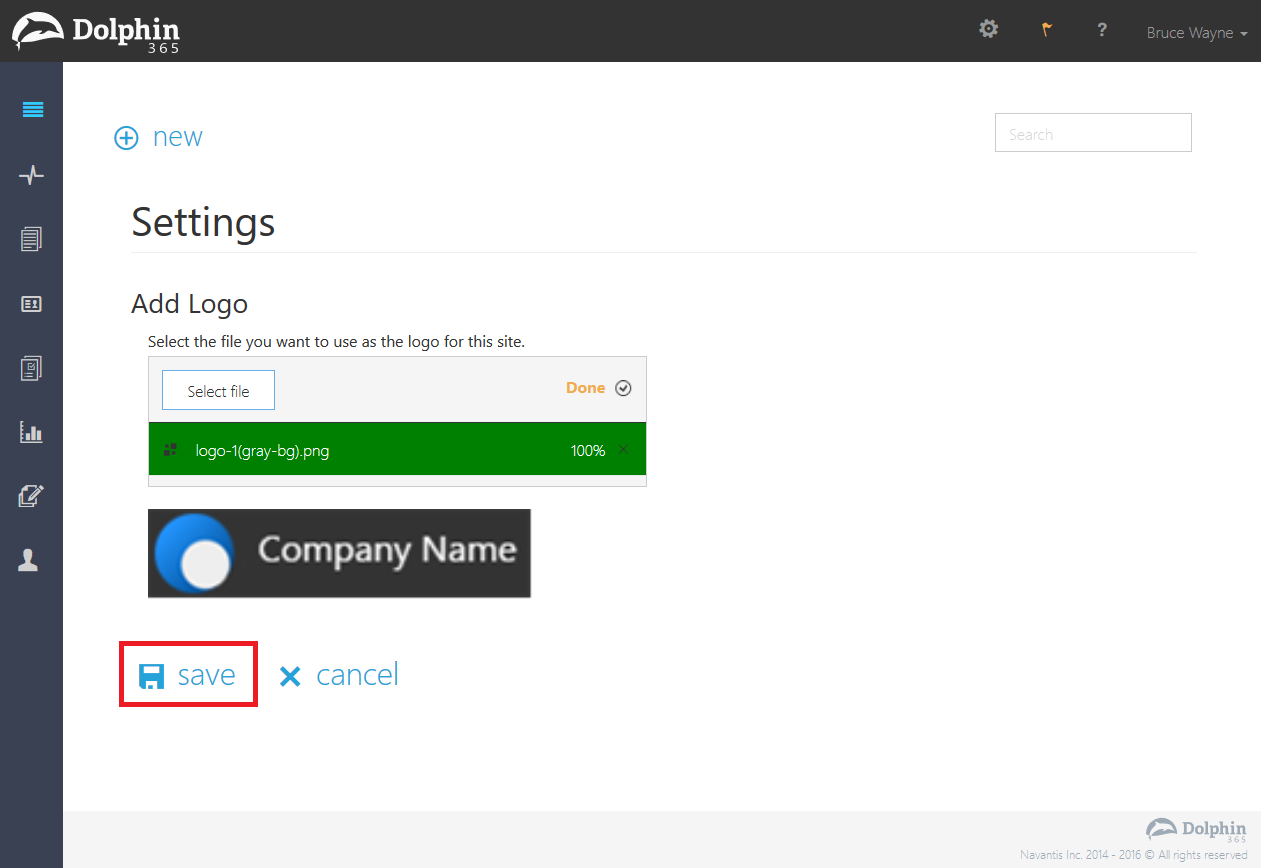
- Now you can see the default Dolphin 365 logo has been replaced with the new logo.